

What is a Wallet?
A wallet is a container that groups related assets together. Think of wallets as folders that help you organize your crypto activities by:- Purpose - Personal vs. Business
- Entity - Different companies or clients
- Strategy - Trading, Savings, DeFi activities
- Time period - Tax years or accounting periods
Creating a Wallet
You need to verify your email address before you can create wallets. Check your inbox for the verification email sent at signup.
1
Open Wallets
Navigate to Wallets from the sidebar.
2
Click Create Wallet
Click the Create Wallet button in the top right corner.
3
Name your wallet
Enter a descriptive name for the wallet.
4
Add assets
Each asset is an address plus the network and token it tracks:
Click Add Asset to add more assets. A single wallet can mix TRON and Ethereum assets, and you can change a wallet’s assets at any time later.
- TRON
- Ethereum
Chainbook validates addresses before allowing you to save. An address that already exists in any of your wallets can’t be added again.
5
Save the wallet
Click Create Wallet to save. Asset syncing begins automatically.
Managing Wallets
Viewing a Wallet’s Assets
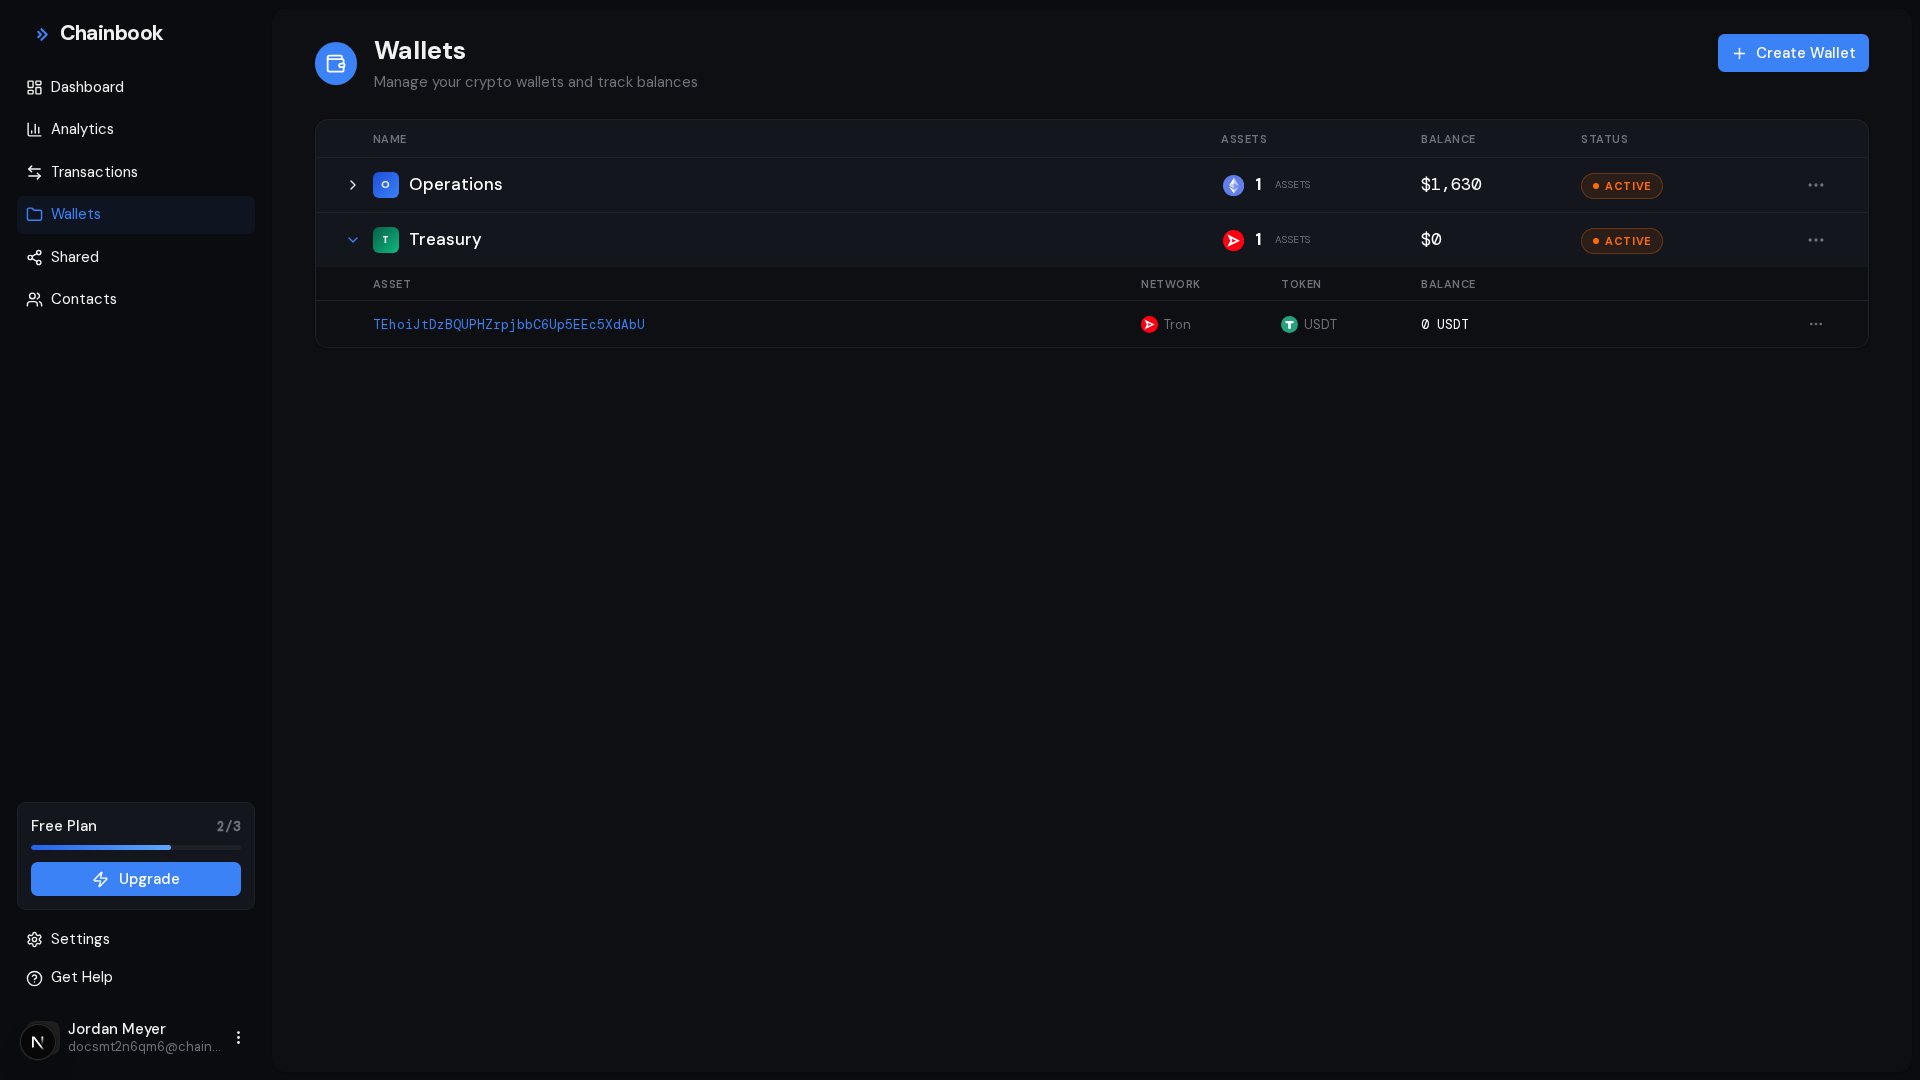
Click a wallet row on the Wallets page to expand it inline. Each asset in the expanded view shows:- Address
- Network
- Token
- Current balance
Editing a Wallet
To edit an existing wallet:- Open the wallet row’s ⋮ menu on the Wallets page
- Click Edit
- In the Edit Wallet dialog, change the wallet name or the assets’ address, network, and token
- Click Save Changes
You can add or remove assets from a wallet at any time. Removing an asset also removes its transaction history from the wallet.
Adding Assets to a Wallet
1
Open the Edit Wallet dialog
On the Wallets page, open the wallet row’s ⋮ menu and click Edit.
2
Click Add Asset
Click Add Asset at the bottom of the assets list, then enter the address and choose the network and token.
3
Save
Click Save Changes.
New assets begin syncing immediately after being added.
Removing Assets
To remove an asset:- Click the wallet row to expand it
- Open the ⋮ menu on the asset you want to remove
- Click Delete Asset
- Confirm the deletion
Sharing a Wallet
Open the wallet row’s ⋮ menu and click Share to invite other people to the wallet. See Shared Wallets for details.Deleting a Wallet
To delete an entire wallet:- Open the wallet row’s ⋮ menu
- Click Delete
- Confirm in the dialog
Sync Status
Syncing runs automatically — there’s nothing to trigger manually. Each wallet shows its current status:Each wallet can import up to 10,000 transactions. When a wallet reaches this limit, its sync pauses and no further transactions are imported.
Wallet Organization Tips
Use Clear Naming
Choose descriptive names that help you quickly identify each wallet: Good names:- “Personal Savings”
- “Acme Corp Treasury”
- “2024 Trading Account”
- “Wallet 1”
- “Test”
- “Asset”
Separate by Purpose
Create different wallets for different purposes:Consider Tax Reporting
If you need to separate transactions for tax purposes:- Create wallets by tax year
- Use separate wallets for personal vs. business
- Keep trading and investment accounts separate
Limits
Wallet limits depend on your subscription plan. There is no limit on the number of assets in a wallet.
See Billing & Plans for more details about subscription tiers.